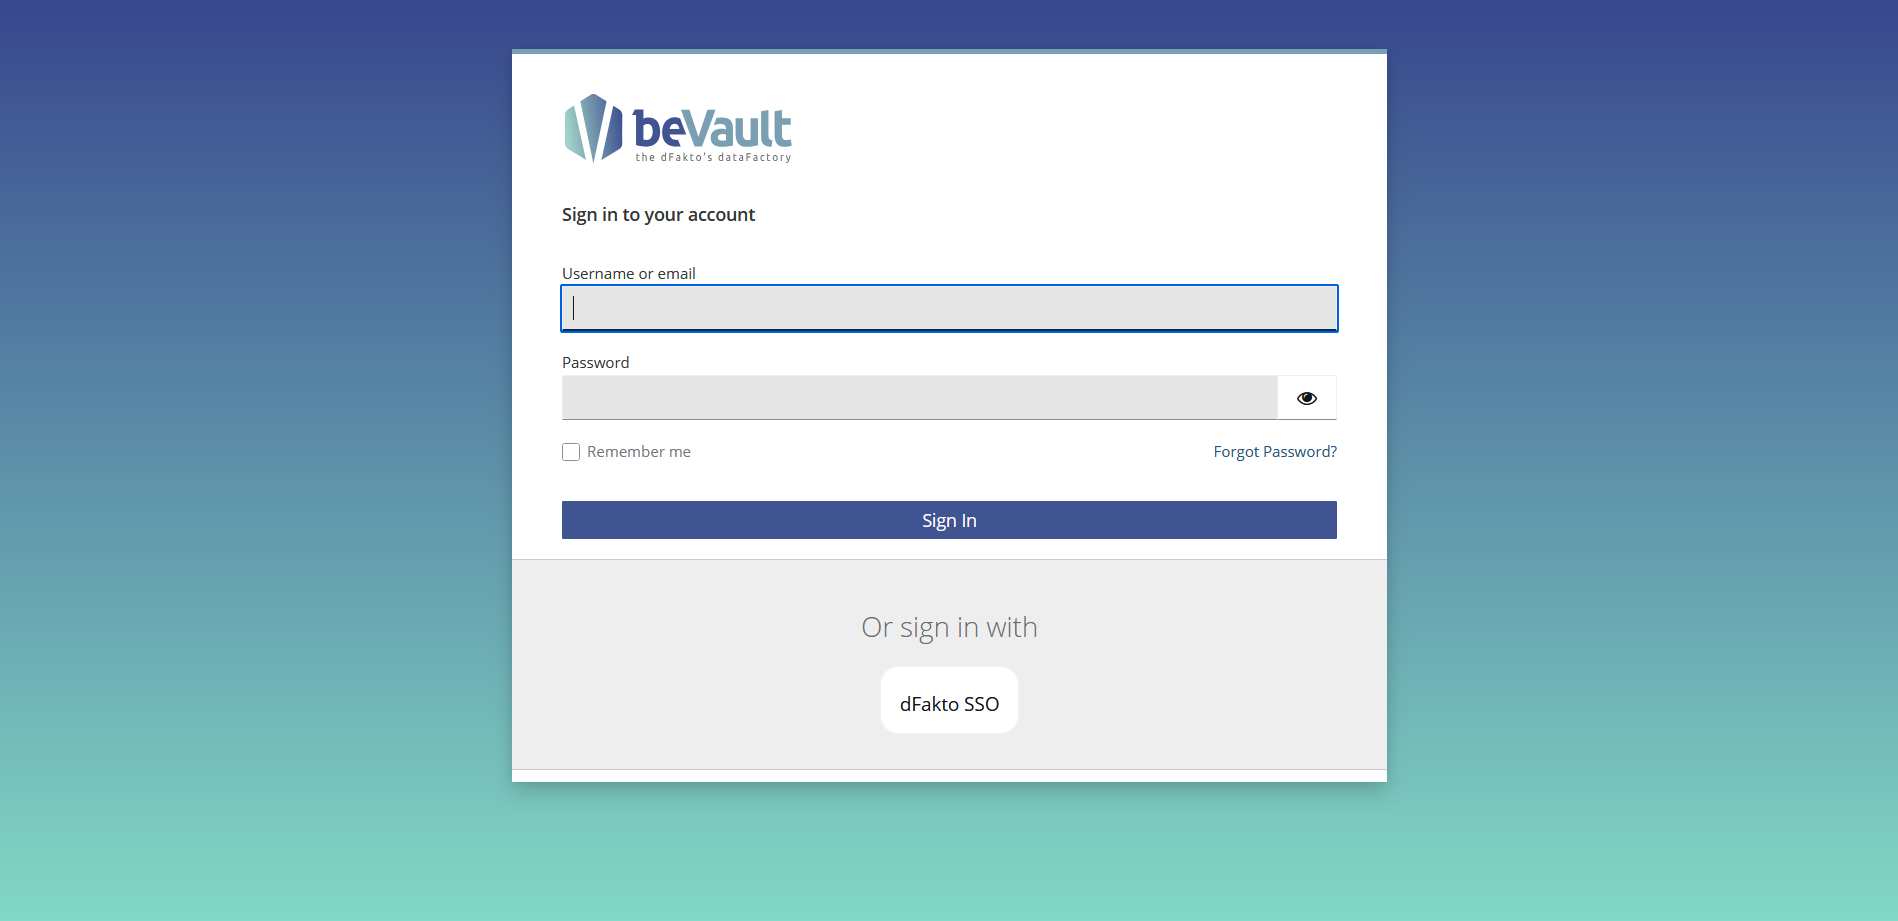
After installing beVault on your device, navigate to the login page using the provided link.
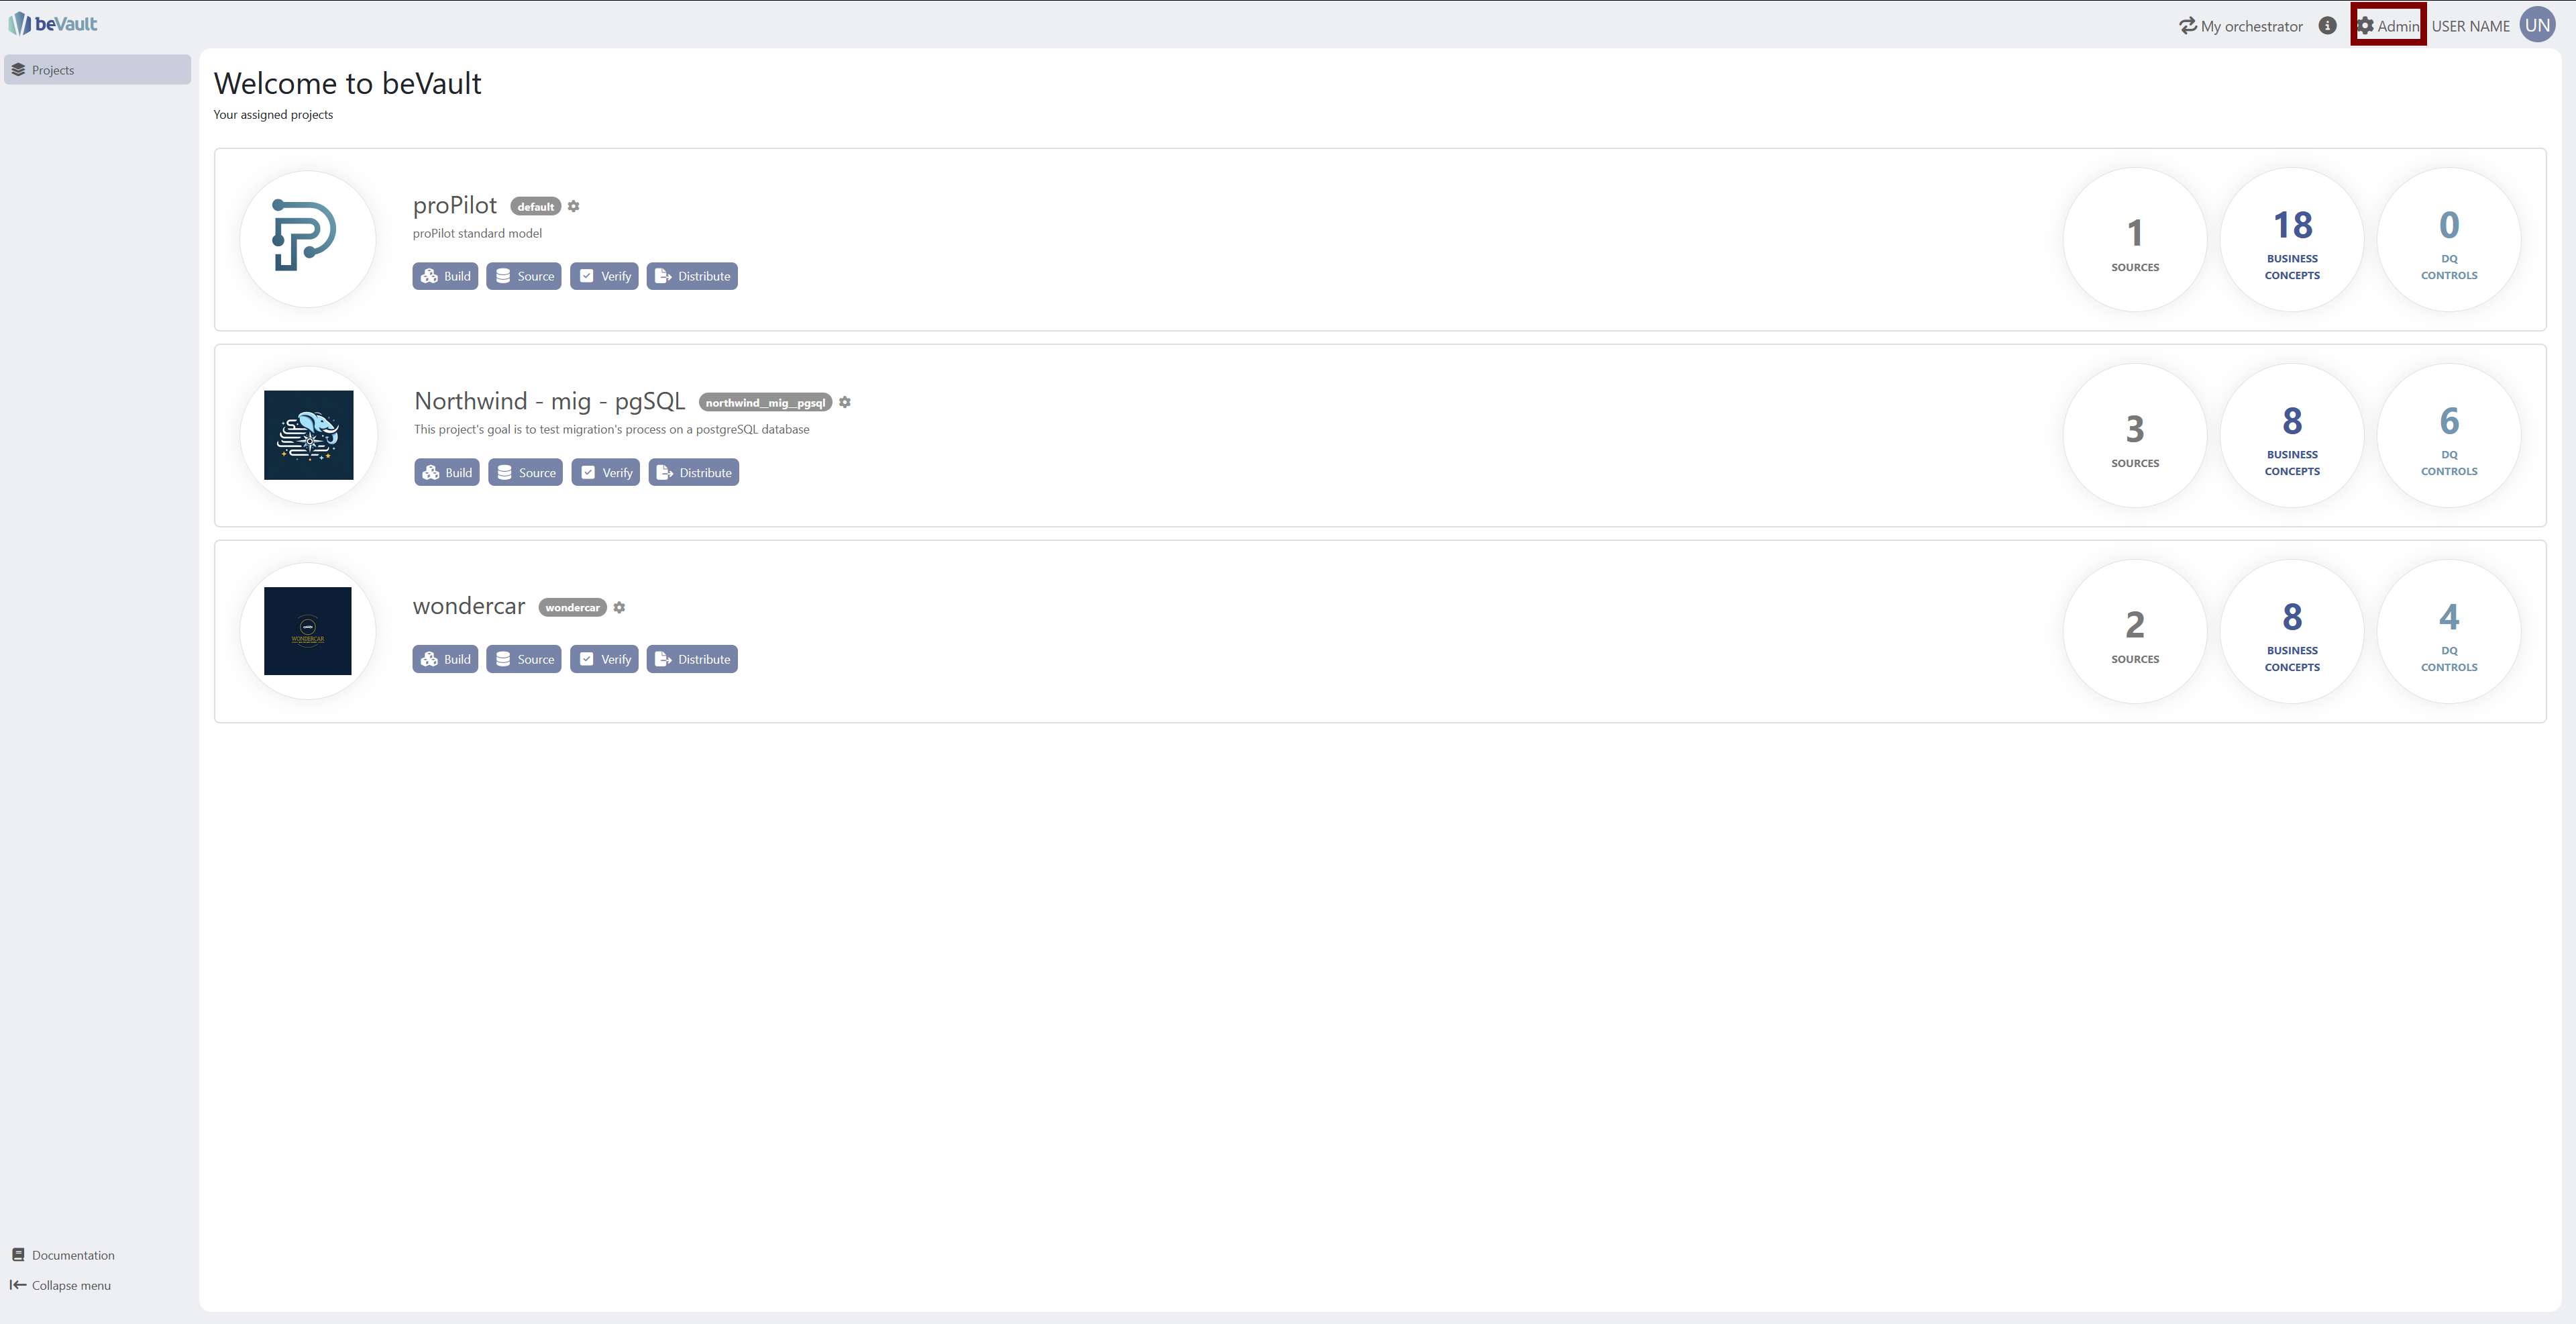
Once logged in, you will be directed to the homepage of beVault containing all the projects. To create a new project, click “Admin” in the upper-right corner.
-
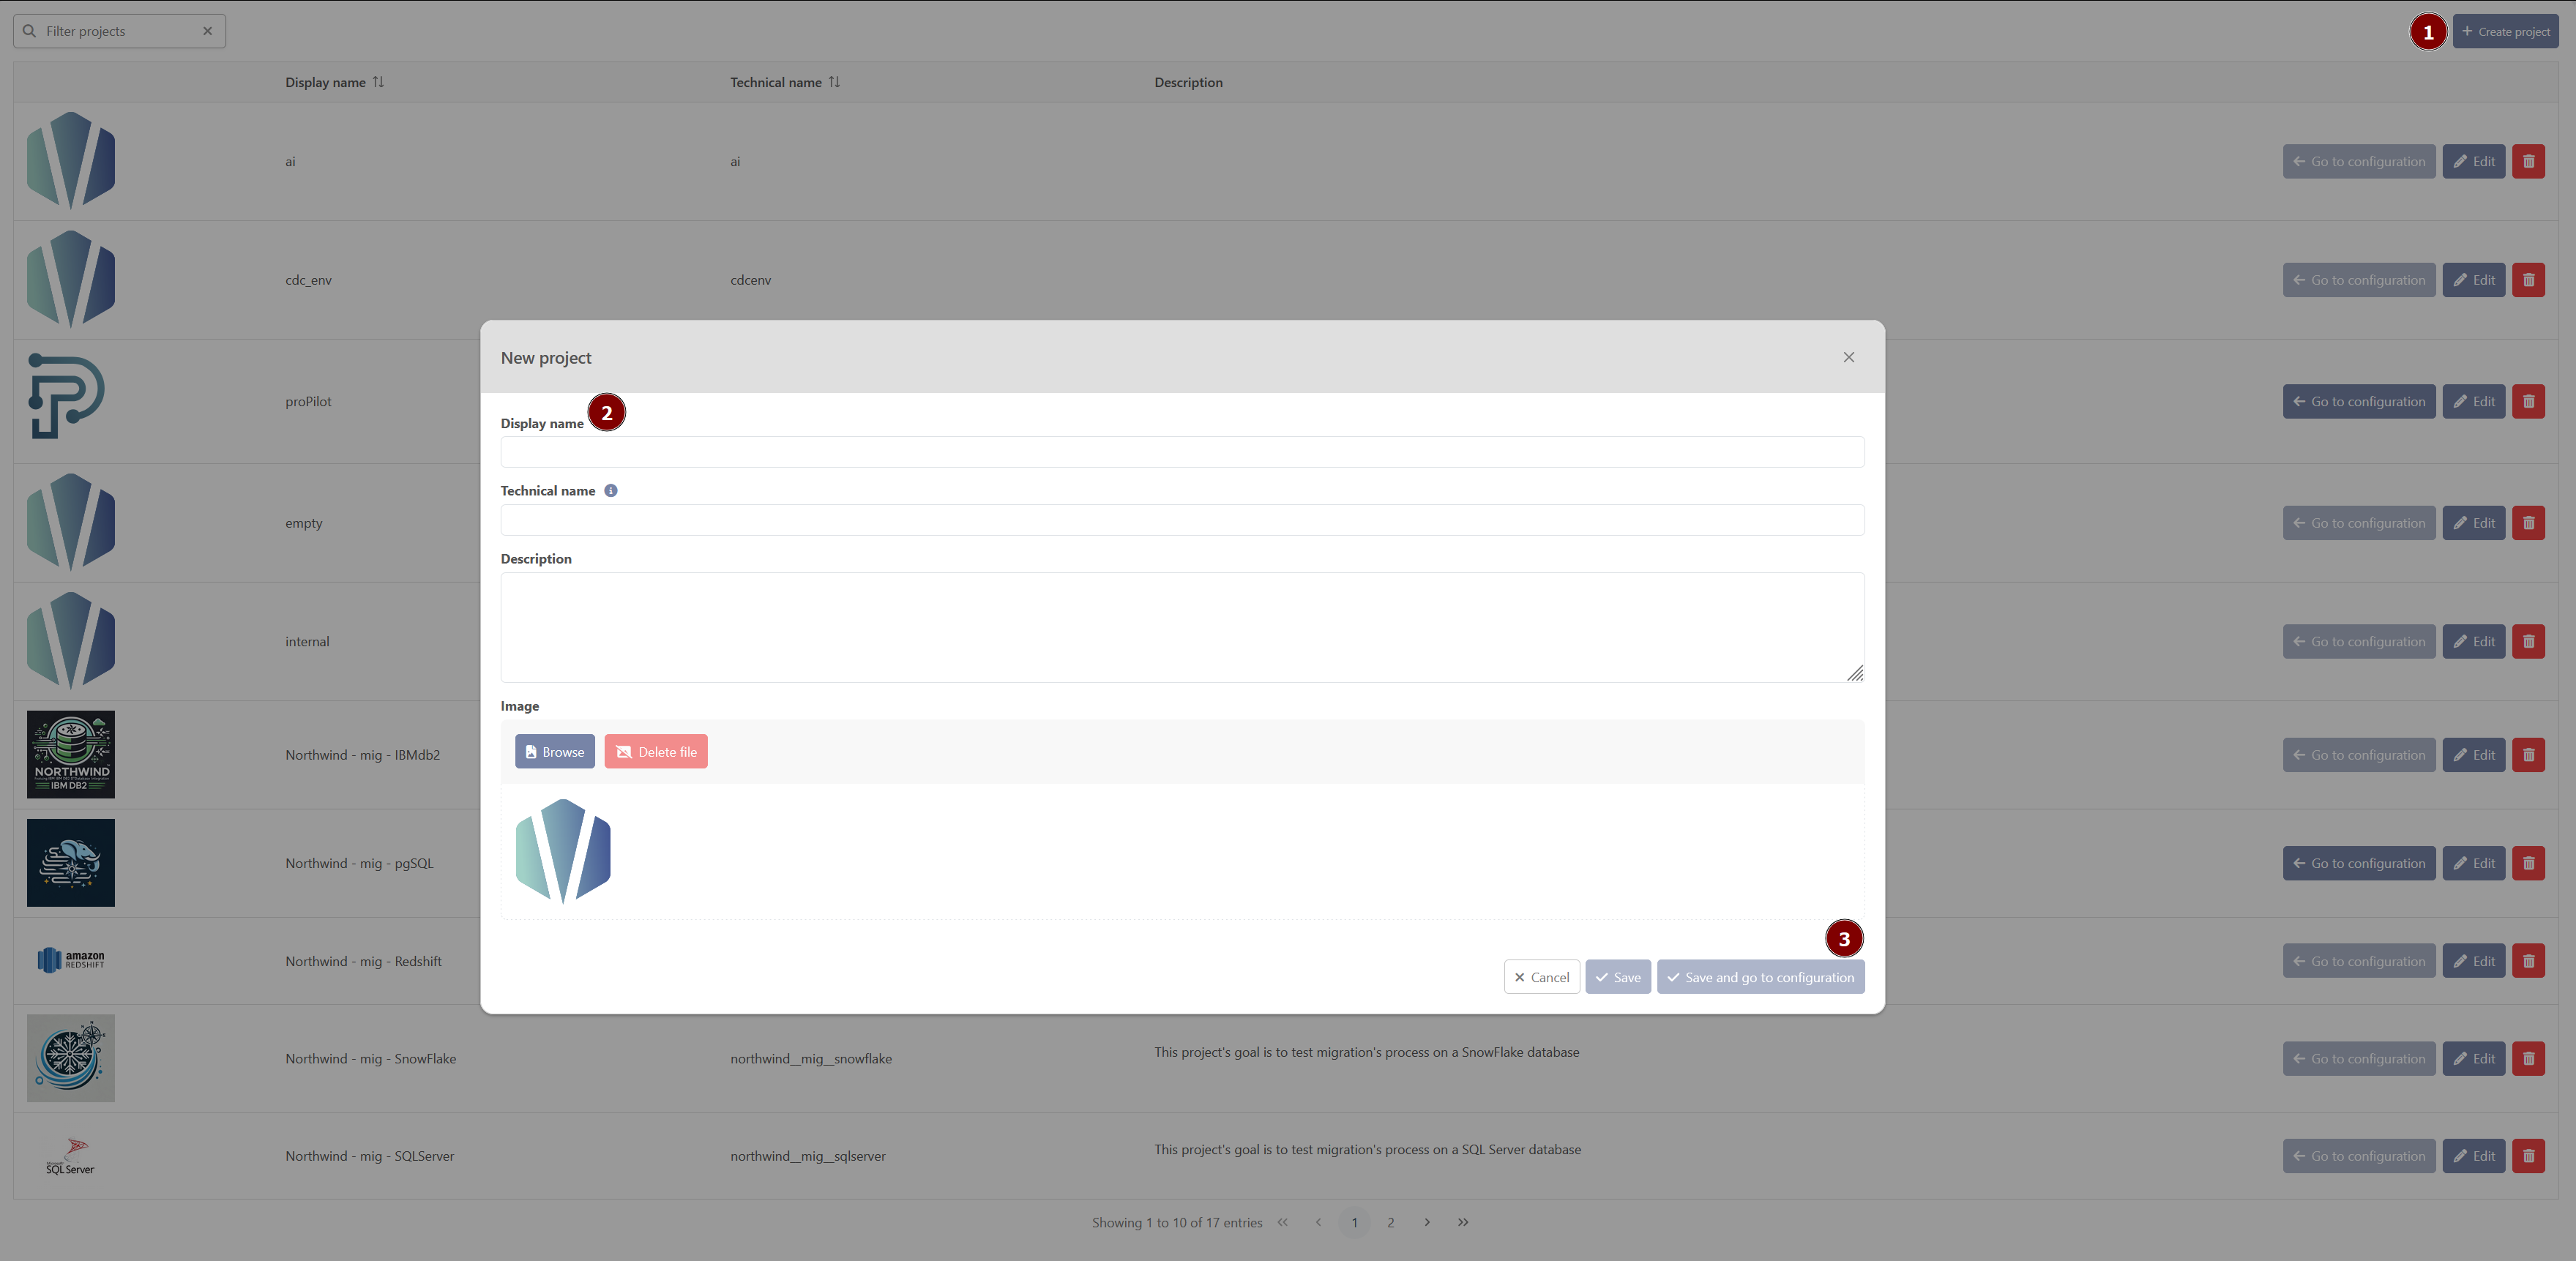
On the Administration page, click the "Create a project" button. A pop-up will appear.
-
In the pop-up, enter the following details for your project:
-
Display Name: “tutorial”
-
Description: A brief description of your project
-
Image: Upload an image for your project (optional)
The technical name of your project will be automatically generated based on the display name with spaces removed and replaced by underscores, and all letters in lowercase.
-
-
Save project information click on the "Submit and go to configuration" button to save the information for your project.
Congratulations! You have successfully created your first project in beVault. You can now start configuring your project and build your first beVault.