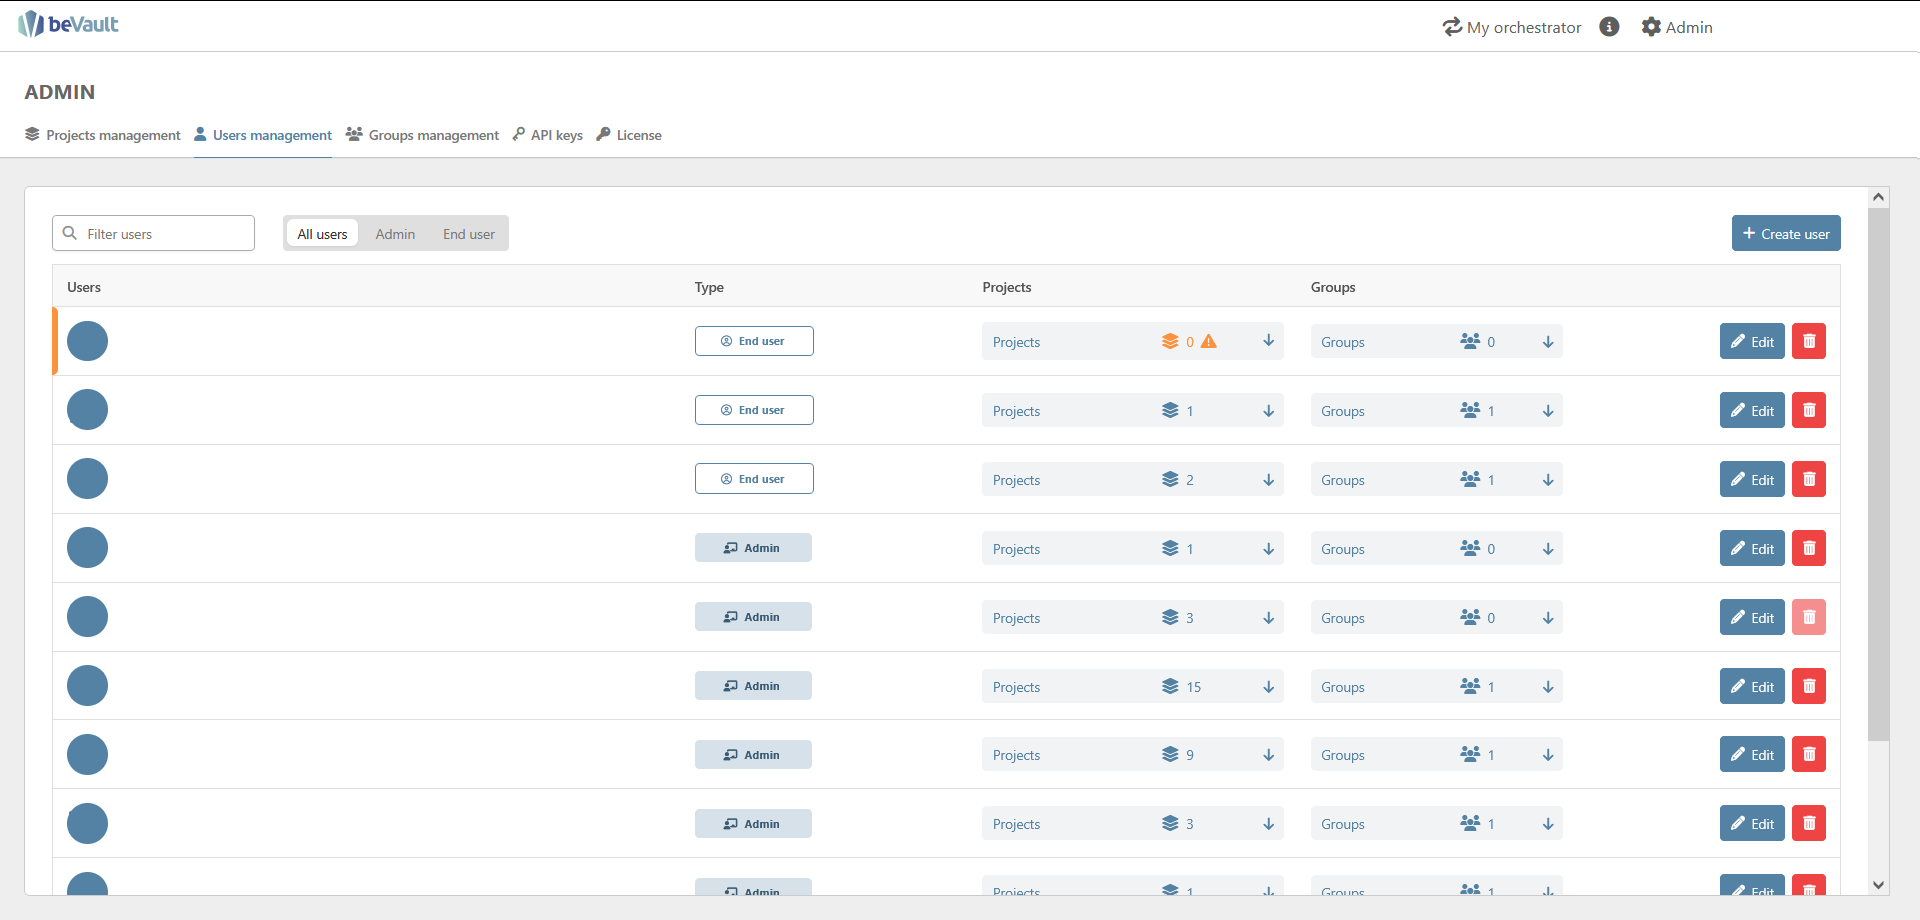
The users' management allows you to define which modules and environments of a project a user has access to. It is accessible from the client admin in the upper-right corner of the screen for the administrators.
User authentication & creation
The authentication of the users and their access to beVault is managed by the OAuth provider that you configured during the installation of the product (CFR Metavault Configuration | Authentication).
The users are automatically created in the application when they connect to the application. Their name and email are automatically imported from the OAuth provider.
However, you may create the user before their first log in through the OAuth provider and prepare their accesses to specific processes.
To do so, click on the button ‘Create user’.
A pop up will appear. In this pop-up, you will be asked to enter
-
the email of the user
The email entered here should be the same one that will be used when the user will log in into beVault for the first time
-
the type of user (see below for more details)
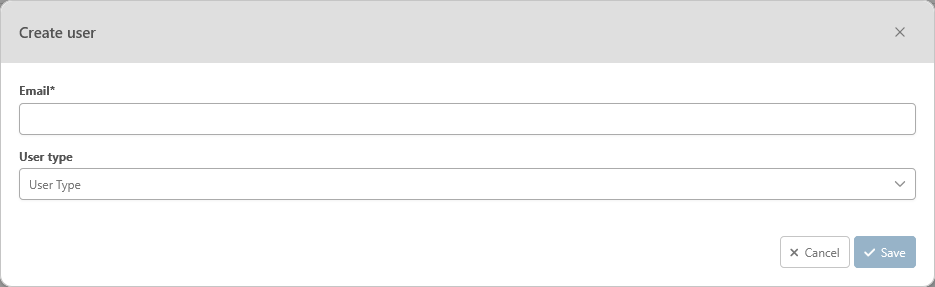
Once the field are filled, you may click on save. The user will receive default access. Yet, you may already grant them accesses to other projects.
Please know that the user creation does not mean that the person has access to beVault. To do so, a first login through the OAuth provider is still required.
Once the user connects to the application, the match is done on the email and the name is updated with the information provided by the SSO.
Types of users
There are two types of users in beVault: the admins and the End users.
The admins can access the module “Admin” in the upper-right corner of the screen to manage the projects and the assignation of the users. Within a project, the rights of an admin are defined the same way as those of the end users. Meaning that they won't be able to access a specific module if they don’t have explicitly that right.
On the other hand, the end user can only access projects and modules that are assigned to them by an admin.
Search a user
You can search a specific user with the dedicated filter in the upper-left corner of the submodule.

You can either search the user by its name or email.
Furthermore, you can narrow down the list of users by selecting a type of user with the radio buttons to see only the type of user that you want.
Access management
A user can be assigned to a project by giving him at least one right on one of its modules.
To provide access to a project to a user, you need to find him in the list first. Then, you can click on the project button to expand the list of projects of the user.
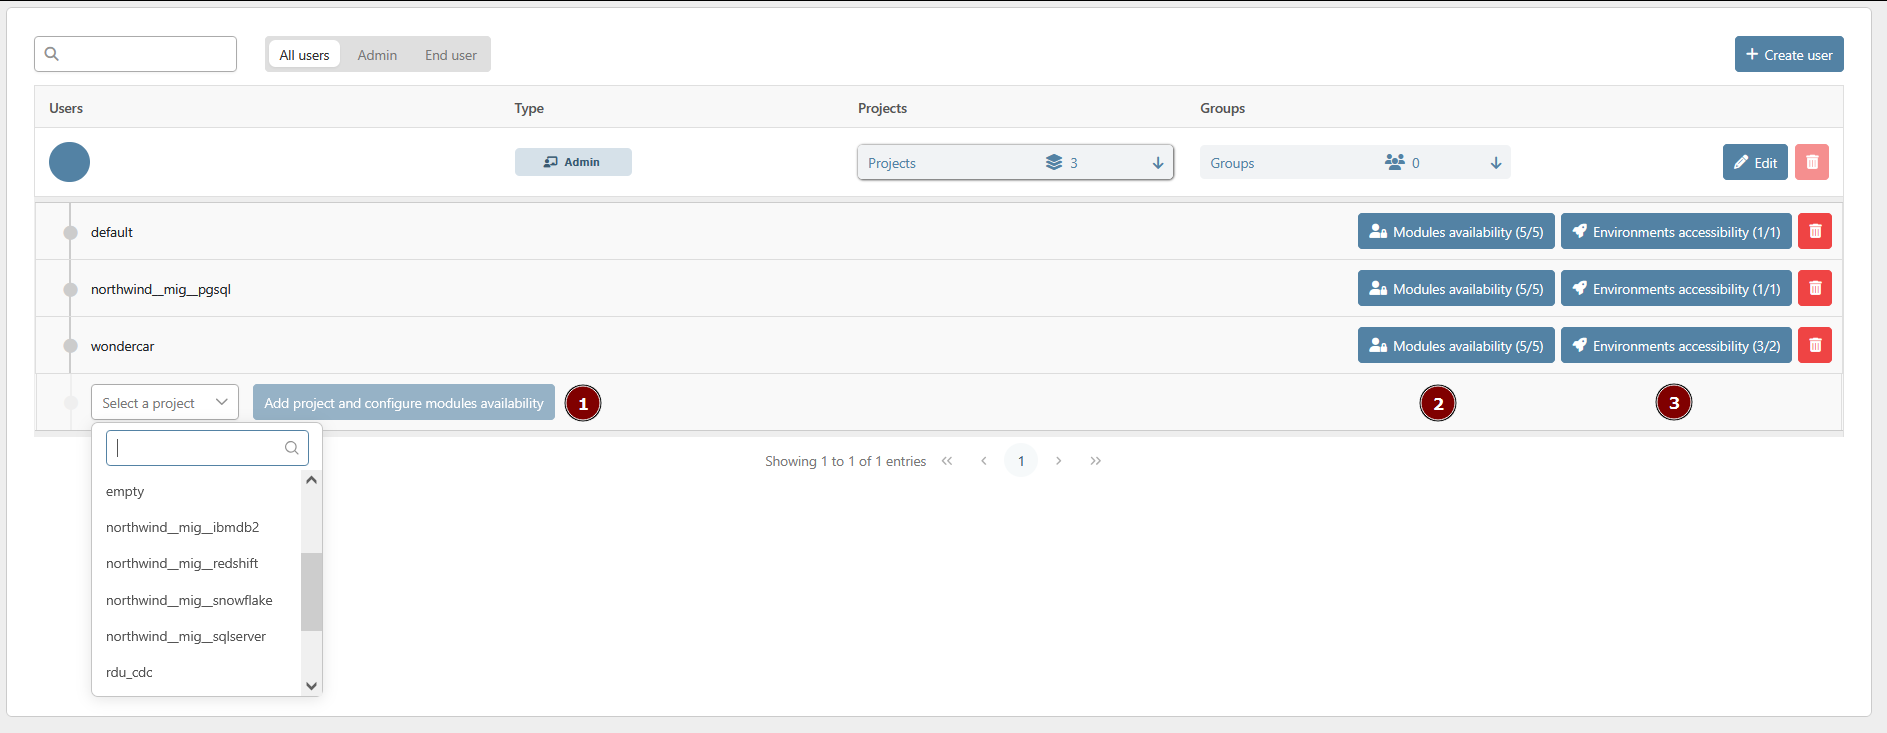
You will see the list of the projects the user can access to. You can either start assigning the user to a new project with the drop-down list of projects (1).
Furthermore, you can also manage the module availability (2) and the environment accessibility (3) of an assigned project with the dedicated buttons.
Clicking the 'Remove' button will revoke project permissions previously assigned to a user.
If the user is part of a group that has some permission on the project, he will keep access to the project. To effectively remove all accesses to the project, you will need to remove the user from the group.
Manage module availability
You can grant specific permission to a user or a group for each module of a project. The permissions are granted for all the submodules of the module.
There are two different permissions for each module:
-
Read: Allows the user or the members of the group to see the module and navigate into it. However, he won’t be able to edit or change the content of the module.
-
Write: Allows the user or the members of the group to edit the content of the module.

For the submodules that are present in different modules (Version, Snapshot, …), the user will have access to it as soon as he has a permission for at least one module where it is present.
For example:
Dan only has a read access to the Source module and a write access to the Verify module, he will be able to access the Version submodule and create a new version even from the Source module.
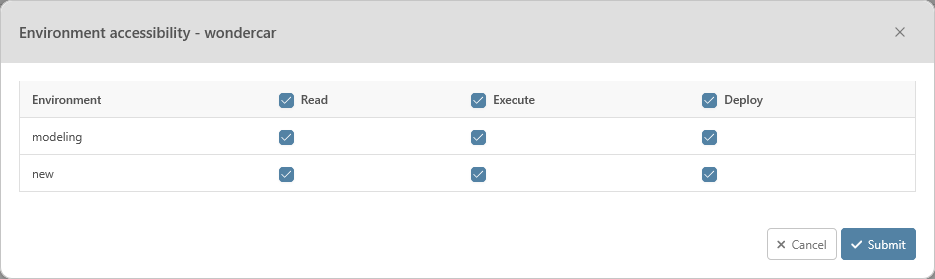
Manage environment accessibility
Besides the permissions on the modules, you can grant specific permission for each environment of a project. There are 3 different rights for the environments:
-
Read: Allows the user or the members of a group to read the data from the environment.
-
Execute: Allows the user or the members of a group to perform specific actions on an environment such as importing data into it or executing a state machine in that environment
-
Deploy: Allows the user or the members of a group to deploy a new version on the environment
Manage the groups of a user
The group will provide the user with some permission granted for a set of users.
The permissions are additive. Meaning that if a user is a member of two groups, one group has a read access to the Source module but not the second group, the user will be able to access the module.
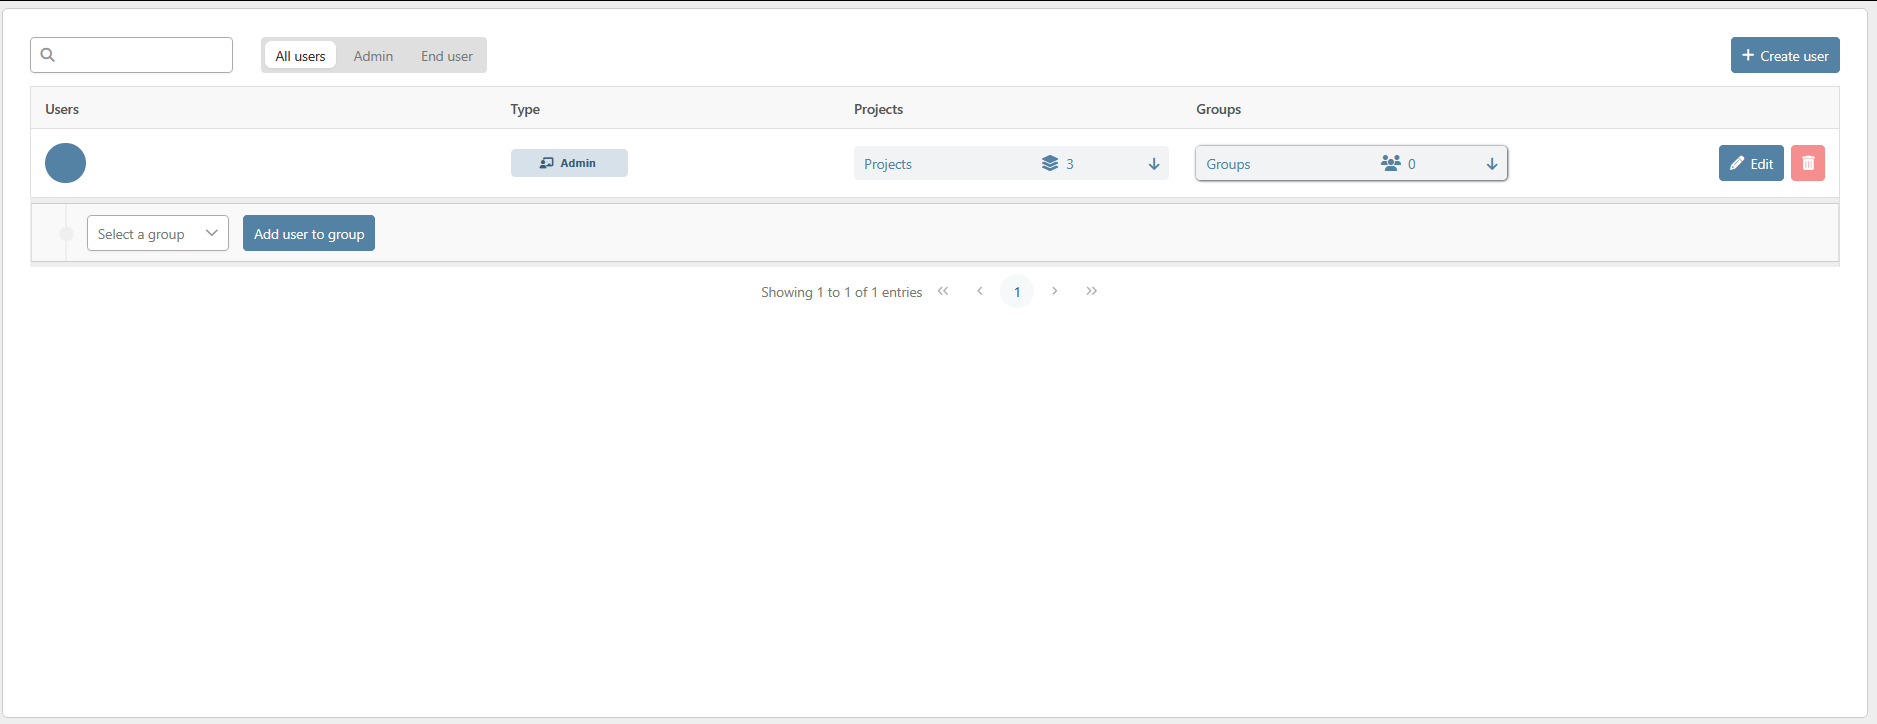
You can quickly manage the groups of a specific user by clicking on the group button directly from the list of users.
Clicking on this button will display the list of groups the user is a member of.
You can assign the user to a group by selecting the new group in the dropdown list and by clicking on the “Add group” button.
The “Remove” button will remove the user from the group.
User deletion
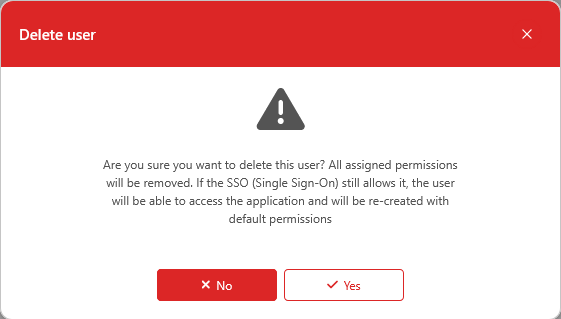
In order to delete a user, click on the trashcan button at the end of its row. A pop-up will appear asking for confirmation. To confirm, click on “Yes” and, to cancel the request, click on “No”.
Please know that, after the deletion of the user, if the SSO (Single Sign-On) still allows it, the user will be able to access the application and will be re-created with default permissions.