Prerequisites
This procedure assumes an existing Keycloak deployment to which you have administrative access. Specifically, you must have permission to create and configure Realms, Clients, Client Scopes, Realm Roles, Users, and Groups on the Keycloak deployment.
Step-by-step procedure
-
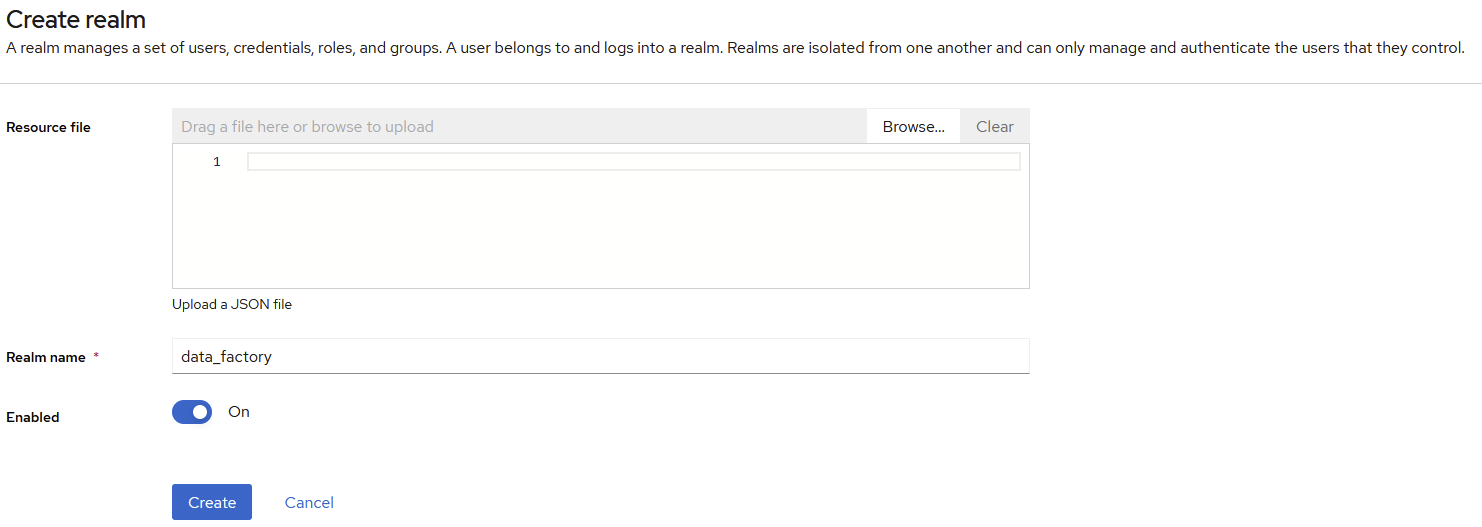
Create a new realm
-
Set a
Display namefor the realm and optionally configure the SMTP server (inEmailtab) and enable the brute force detection (inSecurity defensestab)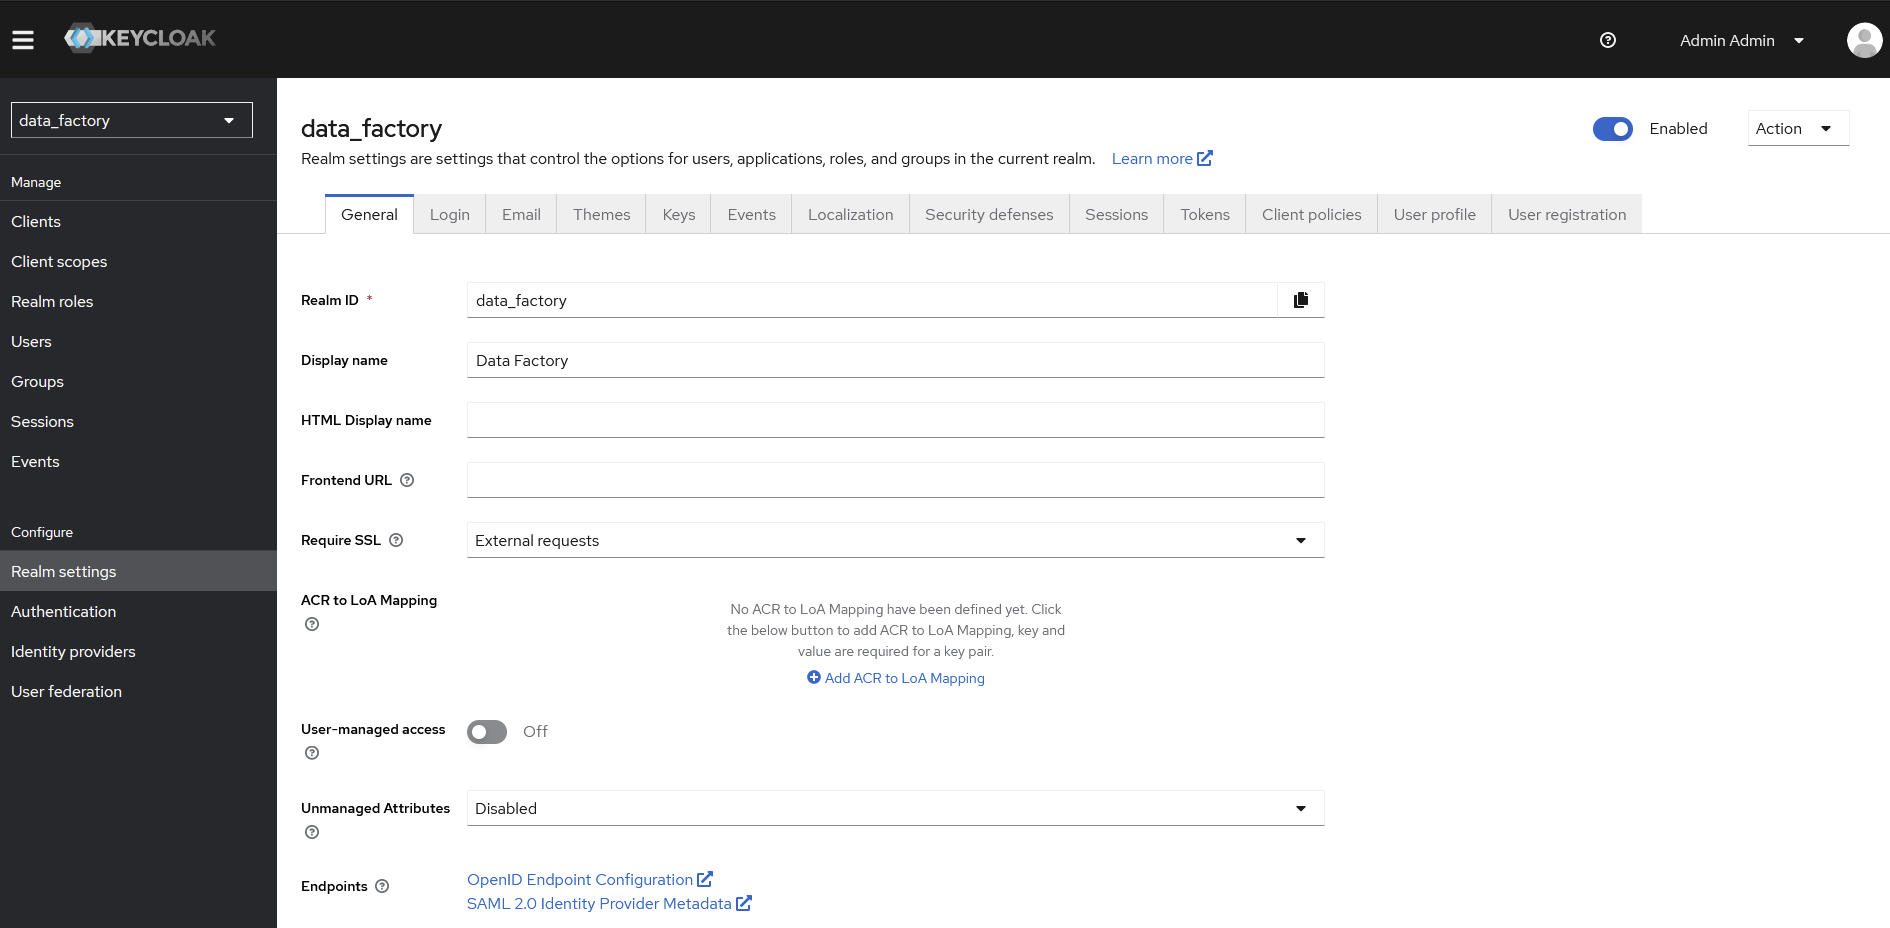
-
Configure an Authentication policy to match your company policy
-
Create a ‘metavault’ client and specify
-
Client ID→ metavault -
Name→ metavault
-
Disable
Direct access grants
-
Root URL→ the base URL for the metavault component (example :http://beVault.example.local) -
Valid redirect URLs→ /* -
Web origins→ +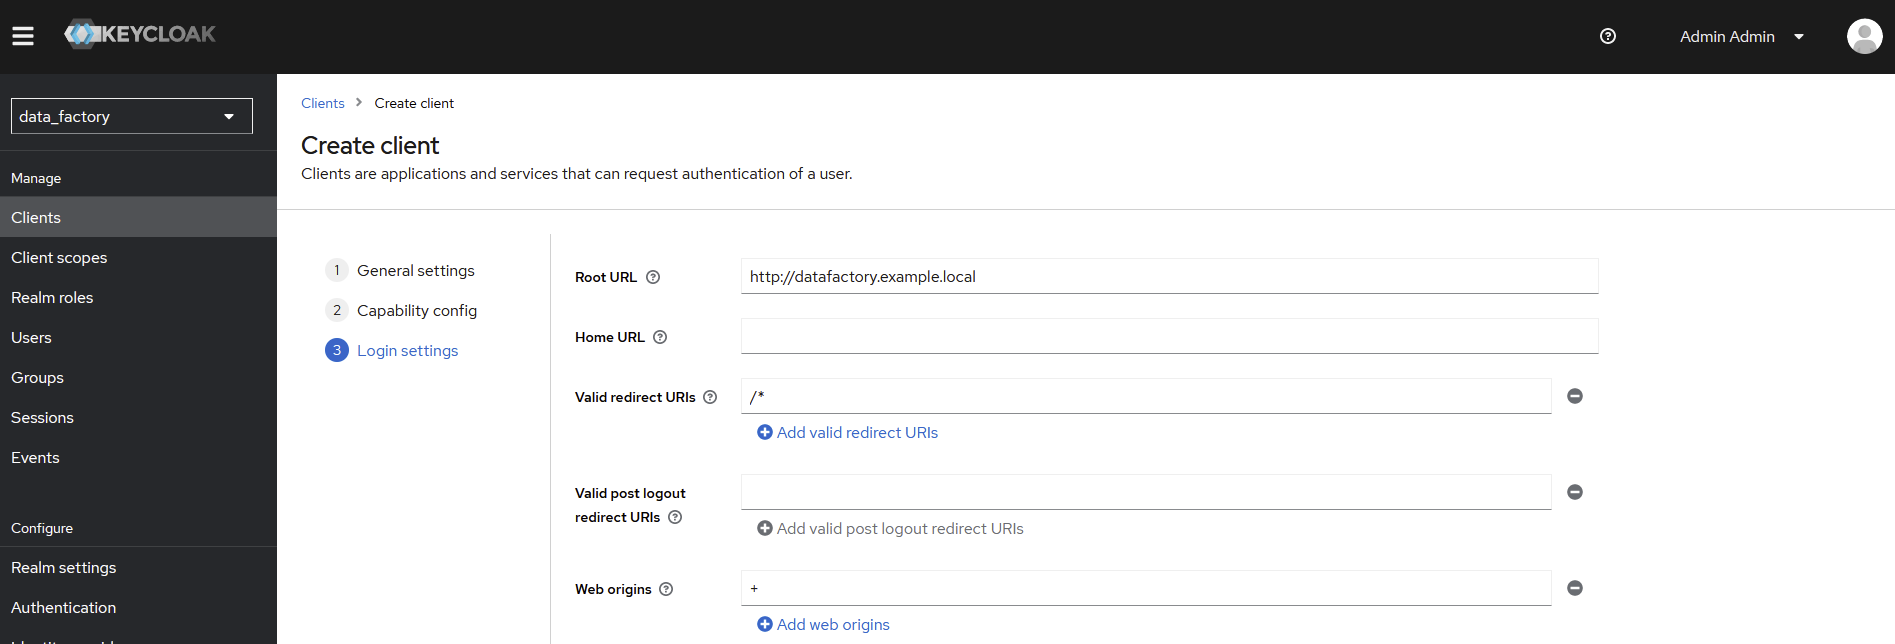
-
-
Create a ‘states’ client and specify
-
Client ID→ states -
Name→ States
-
Disable
Direct access grants
-
Root URL→ the base URL for the metavault component (example :http://orchestrator.example.local) -
Valid redirect URLs→ /* -
Web origins→ +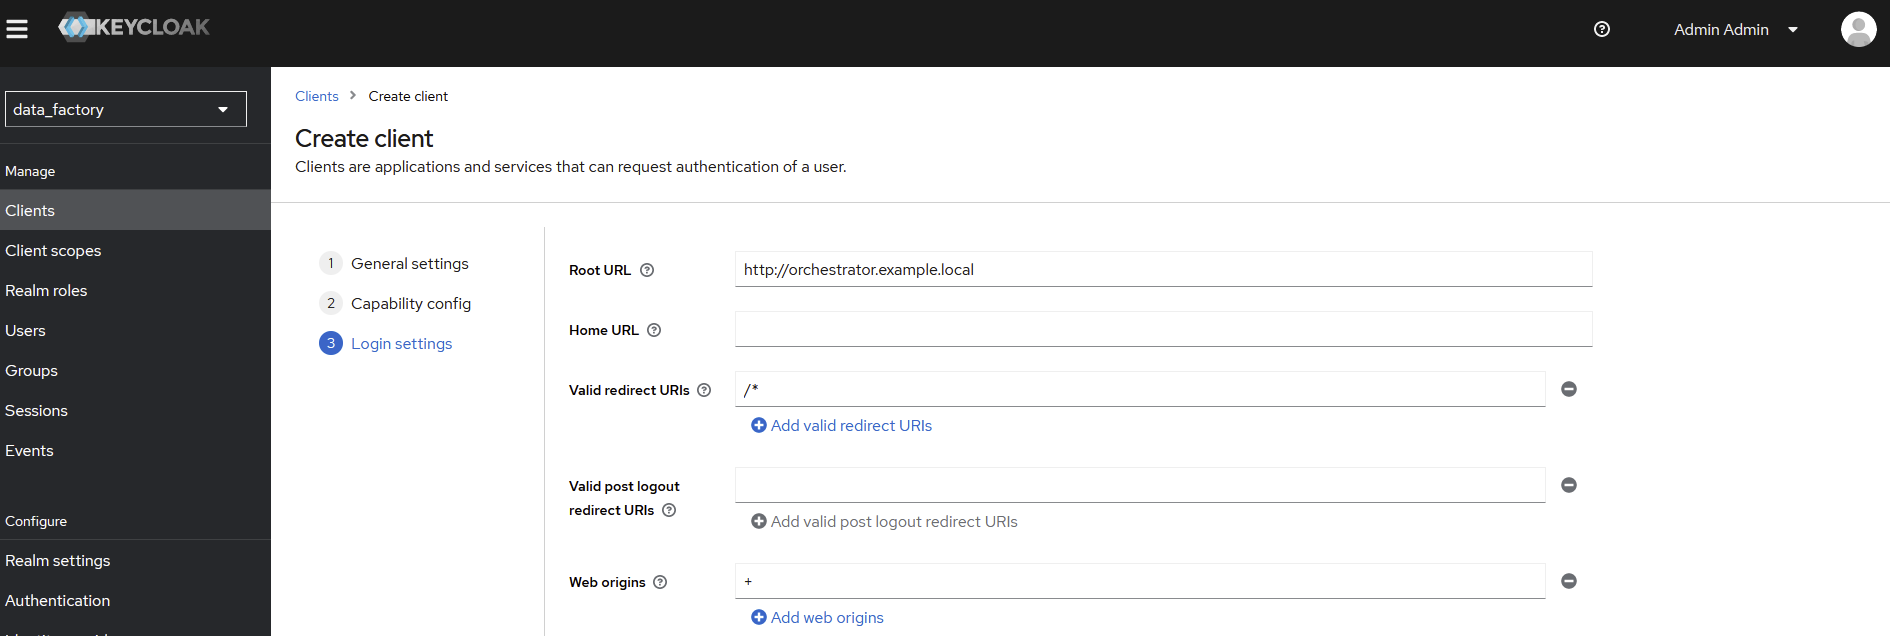
-
-
Adapt metavault component configuration, see Metavault Configuration | Authentication
-
Authority→ <keycloak_base_url>/realms/<realm_name> (example:https://keycloak.dfakto.com/realms/bevault) -
ClientId→ metavault -
Audience→ account
-
-
Adapt states component configuration keys, see States Configuration | Authentication
-
Authority→ <keycloak_base_url>/realms/<realm_name> (example:https://keycloak.dfakto.com/realms/bevault) -
ClientId→ states -
Audience→ account
-
Go further
-
If you want to integrate an external Identity provider to your Keycloak configuration → https://www.keycloak.org/docs/latest/server_admin/#_identity_broker
-
Useful links regarding Keycloak