Data Packages
After creating a source system, you can create one or more data packages that are linked to the source. Some source systems provide data in separate batches, and the data delivery schedule for these batches can be defined using data packages.
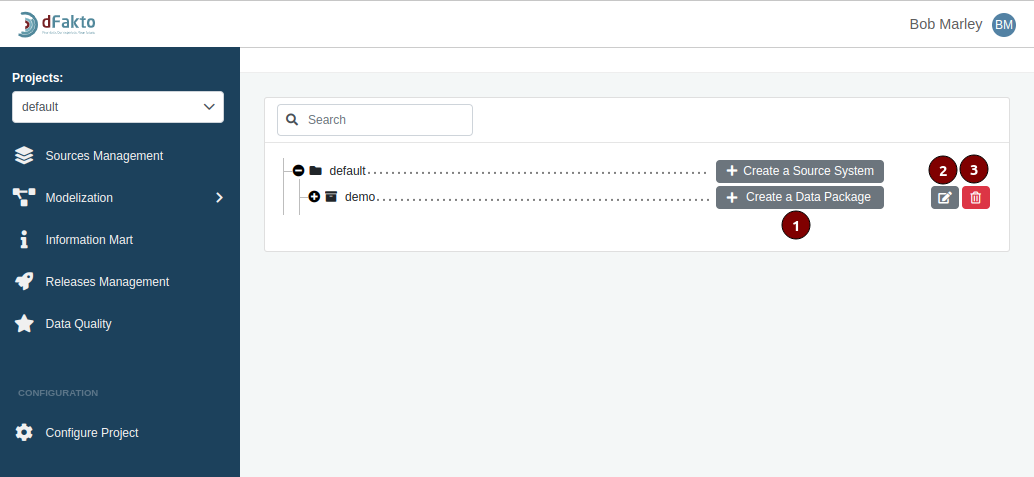
The following buttons are available for managing data packages:
Create a new data package
Modify an existing data package
Delete an existing data package
Create a Data Package
To create a new data package linked to a source system, click the "Create a new Data Package" button (refer to the instructions for managing data packages).
A pop-up wizard will appear, requiring you to enter several required and optional attributes.
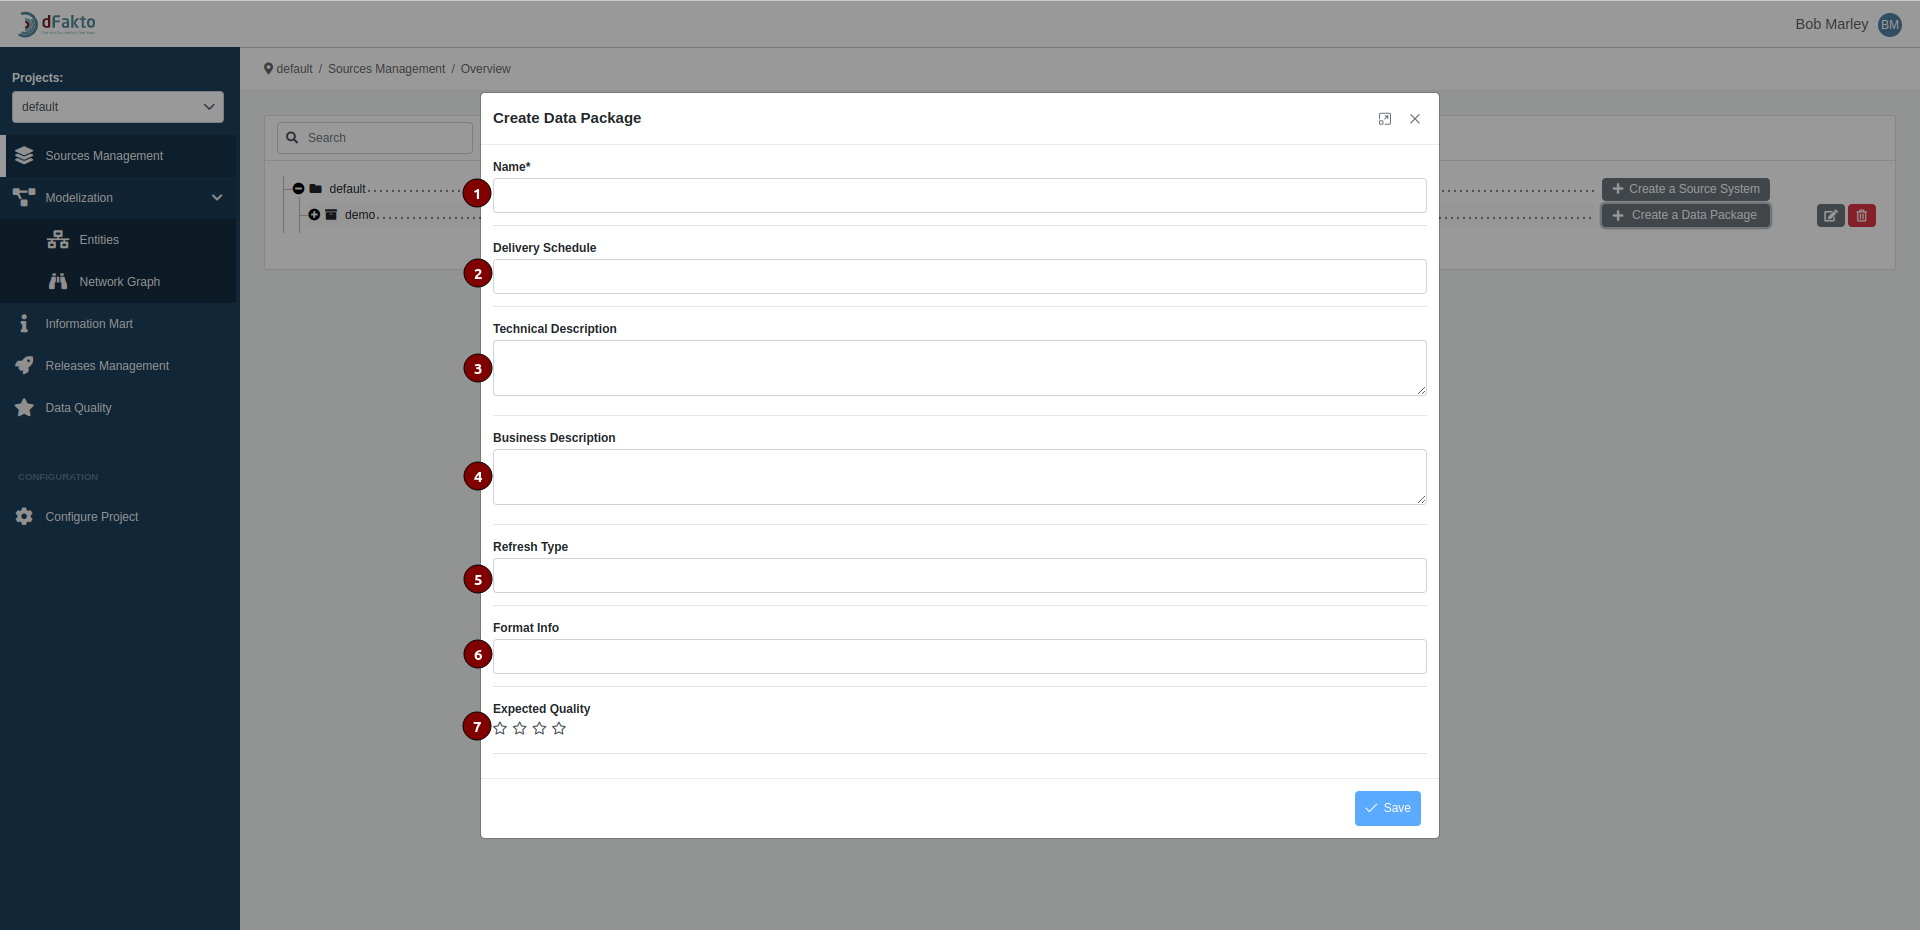
Specifically, you must provide:
Name: MANDATORY- The name of the data package. This name must be unique within the source system, meaning that a single source system cannot have two data packages with the same name.
Delivery Schedule: OPTIONAL - A description of when the data is provided to the Data Vault in text format.
Technical Description: OPTIONAL - A description of the data package in text format.
Business Description: OPTIONAL - Detailed information about the data package from a business perspective.
Refresh Type: OPTIONAL - A description of the frequency with which the content of the data package is refreshed.
Format Info: OPTIONAL - A description of the format of the file that will be sent to the Data Vault, such as CSV or XML, in text format.
Expected Quality: OPTIONAL - A description of the quality of the data package.
The "Create Data Package" pop-up window includes several buttons to help you manage the creation process:
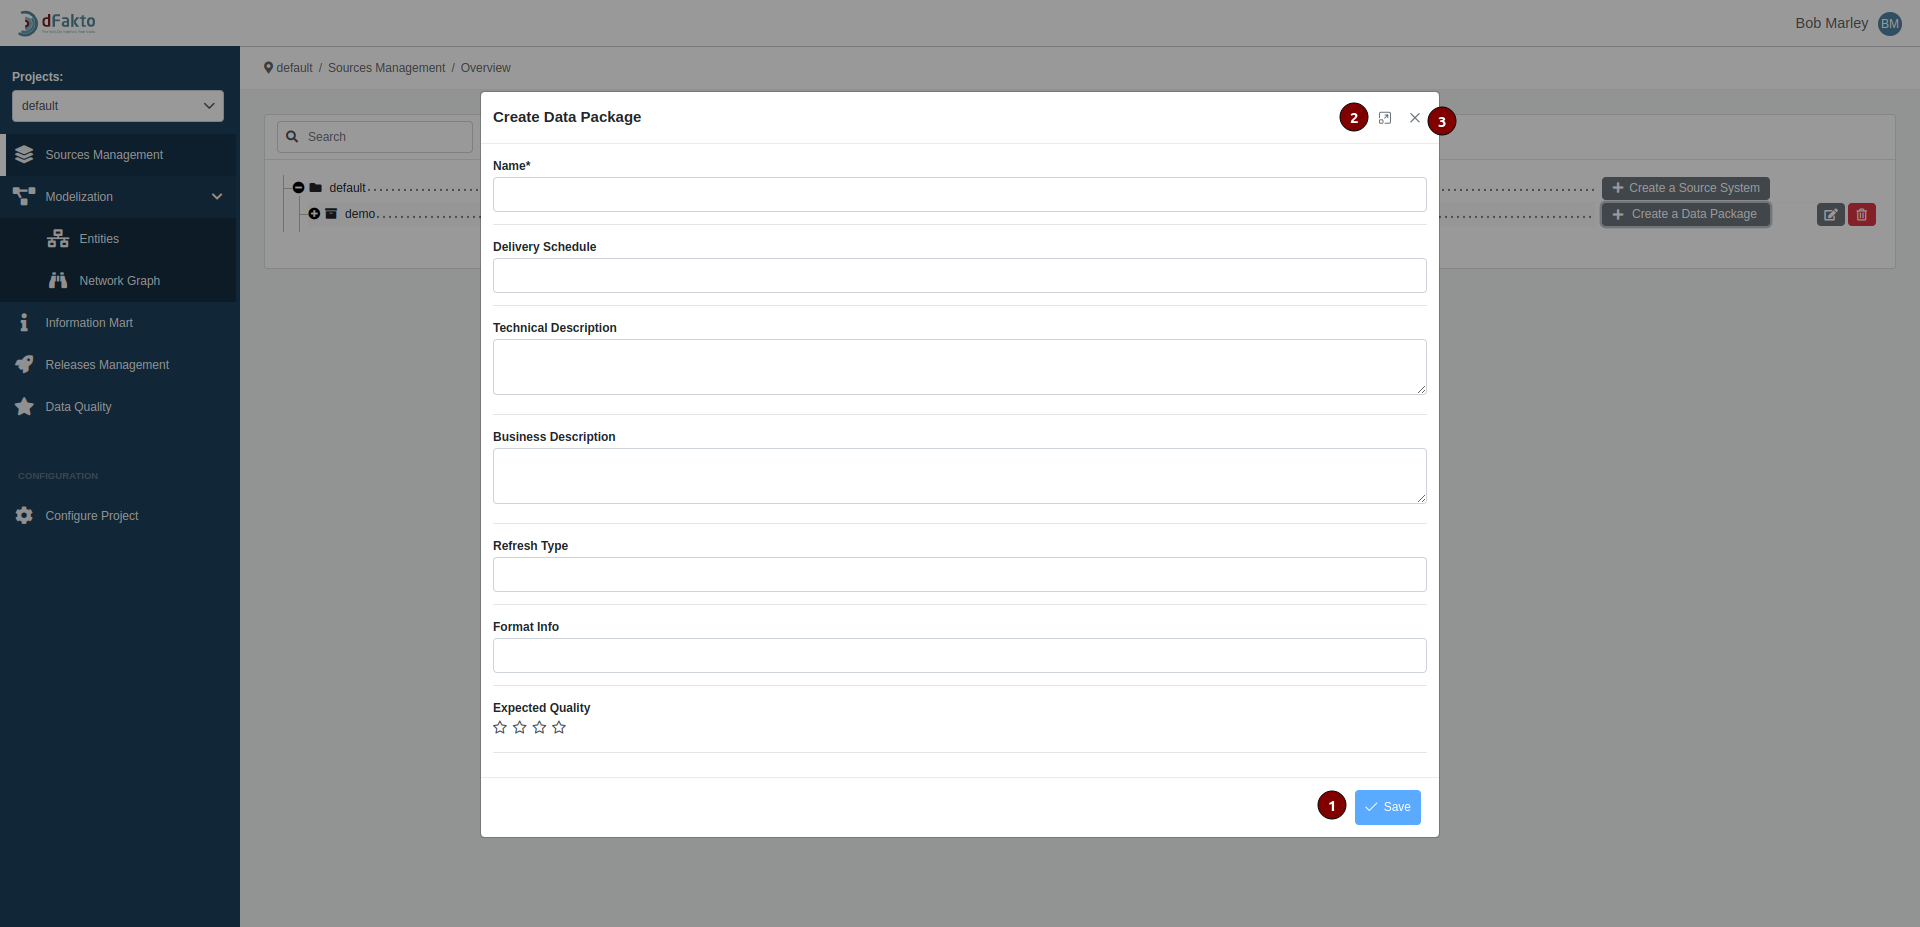
Save: Once you have entered a name for the data package, this button will become enabled and allow you to save the new data package.
Expand: This button allows you to view the "Create Data Package" form in full screen mode.
Exit: Clicking this button will cancel the creation of the data package without saving it.
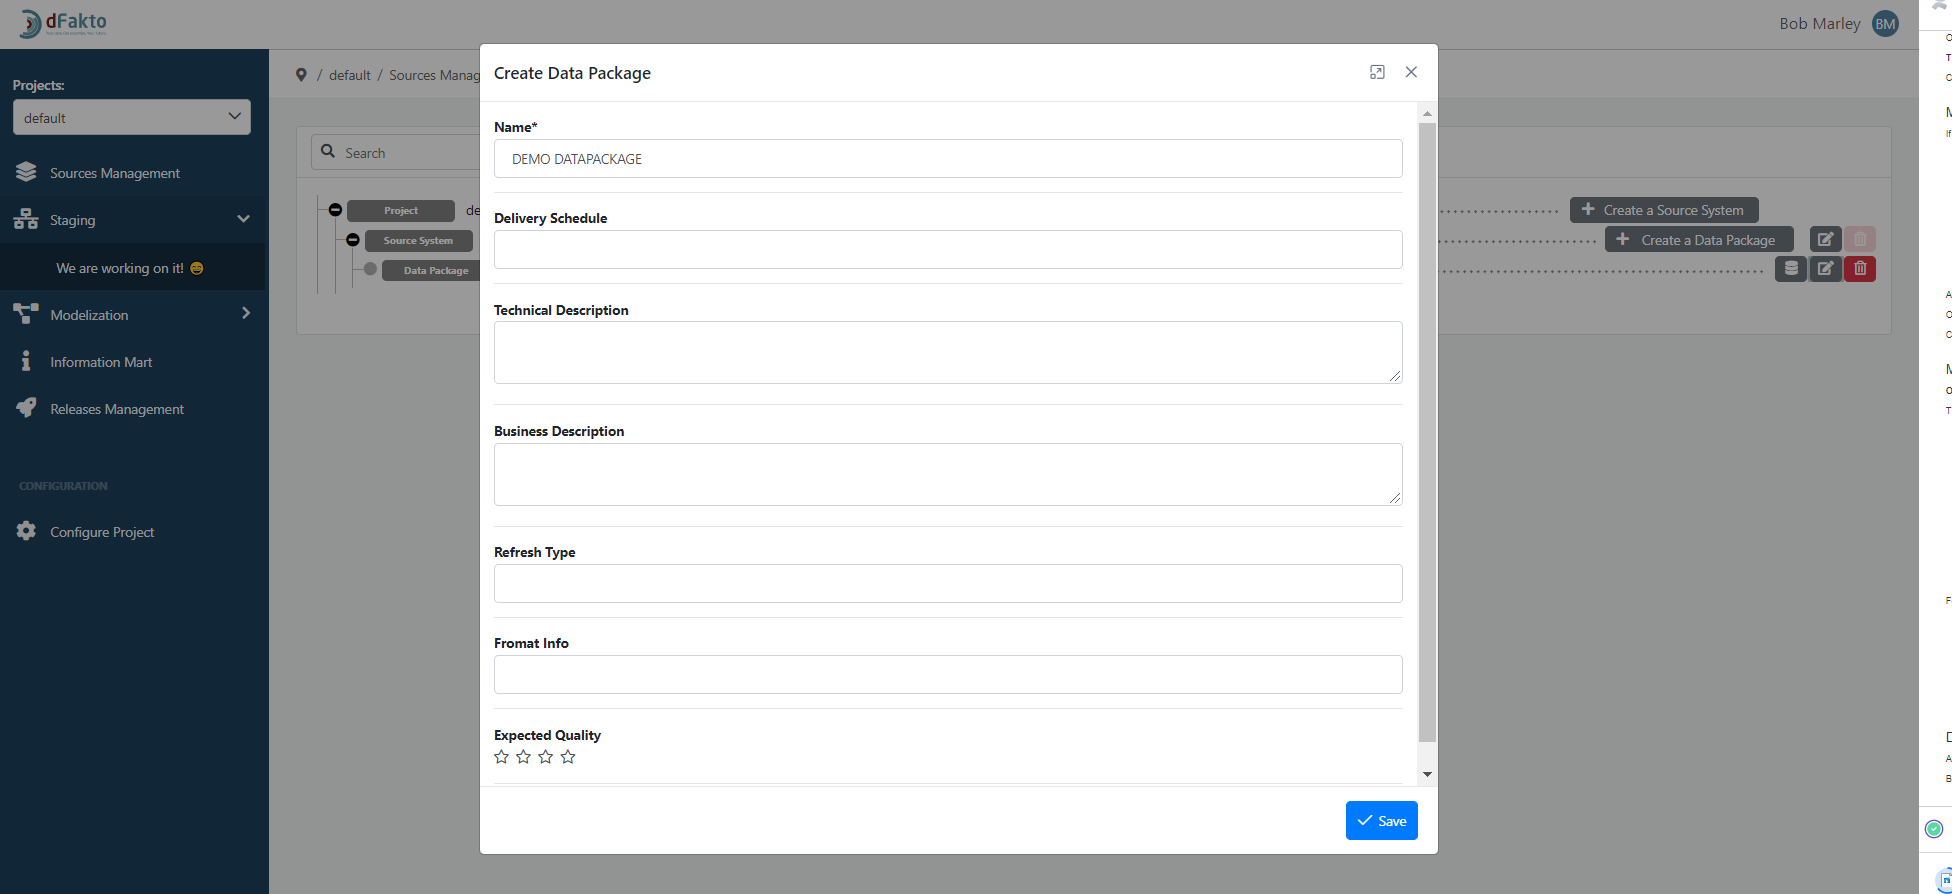
After filling out the required and optional attributes for the data package, click the "Save Data Package" button to create it. If the data package is successfully created, it will appear in the list of data packages. You can then proceed to manage staging tables (see the instructions for "Managing Staging Tables").
Modify an Existing Data Package
To modify an existing data package, click the "Edit" button for the corresponding data package. The process is similar to creating a new data package, with the same fields and rules. The fields that are already set will be pre-filled (refer to the instructions for creating a data package for more information).
A pop-up wizard will appear, allowing you to edit the required and optional attributes for the data package (refer to see the “Create a Data Package” sub-section for more information).
Once you have made your changes, click the "Save" button to apply them.
Delete a Data Package
To delete a data package, click the trash icon on the corresponding line. Please note that you cannot delete a data package if it has associated tables.
